
FIRSTLY, yes, you do have to change them. On an acoustic steel string guitar it will sound joyful and zingy when you do. Maybe not every month as recommended but I have picked up so many guitars over the past 40 years with sticky fretboards, galvinised strings as sharp as wire, so I know many people can’t be bothered or don’t really know how. Treat yourself and anybody listening to you. Buy some new strings and put them on.
This quick guide is not so much for paid musicians, like myself, we’ve been forced to learn through circumstance. Gigs, recording studios, band practices, you soon learn to take more pride in your sound. Plus new strings are easier on your fingers. Although I did once pick up a guitar belonging to a signed artist who toured the world many times only to think – fuck, do you not change your strings! Apparently not. Even on songs that I’d bought on CD in HMV when we relied on music shops. Old strings.
Quick guide as promised:
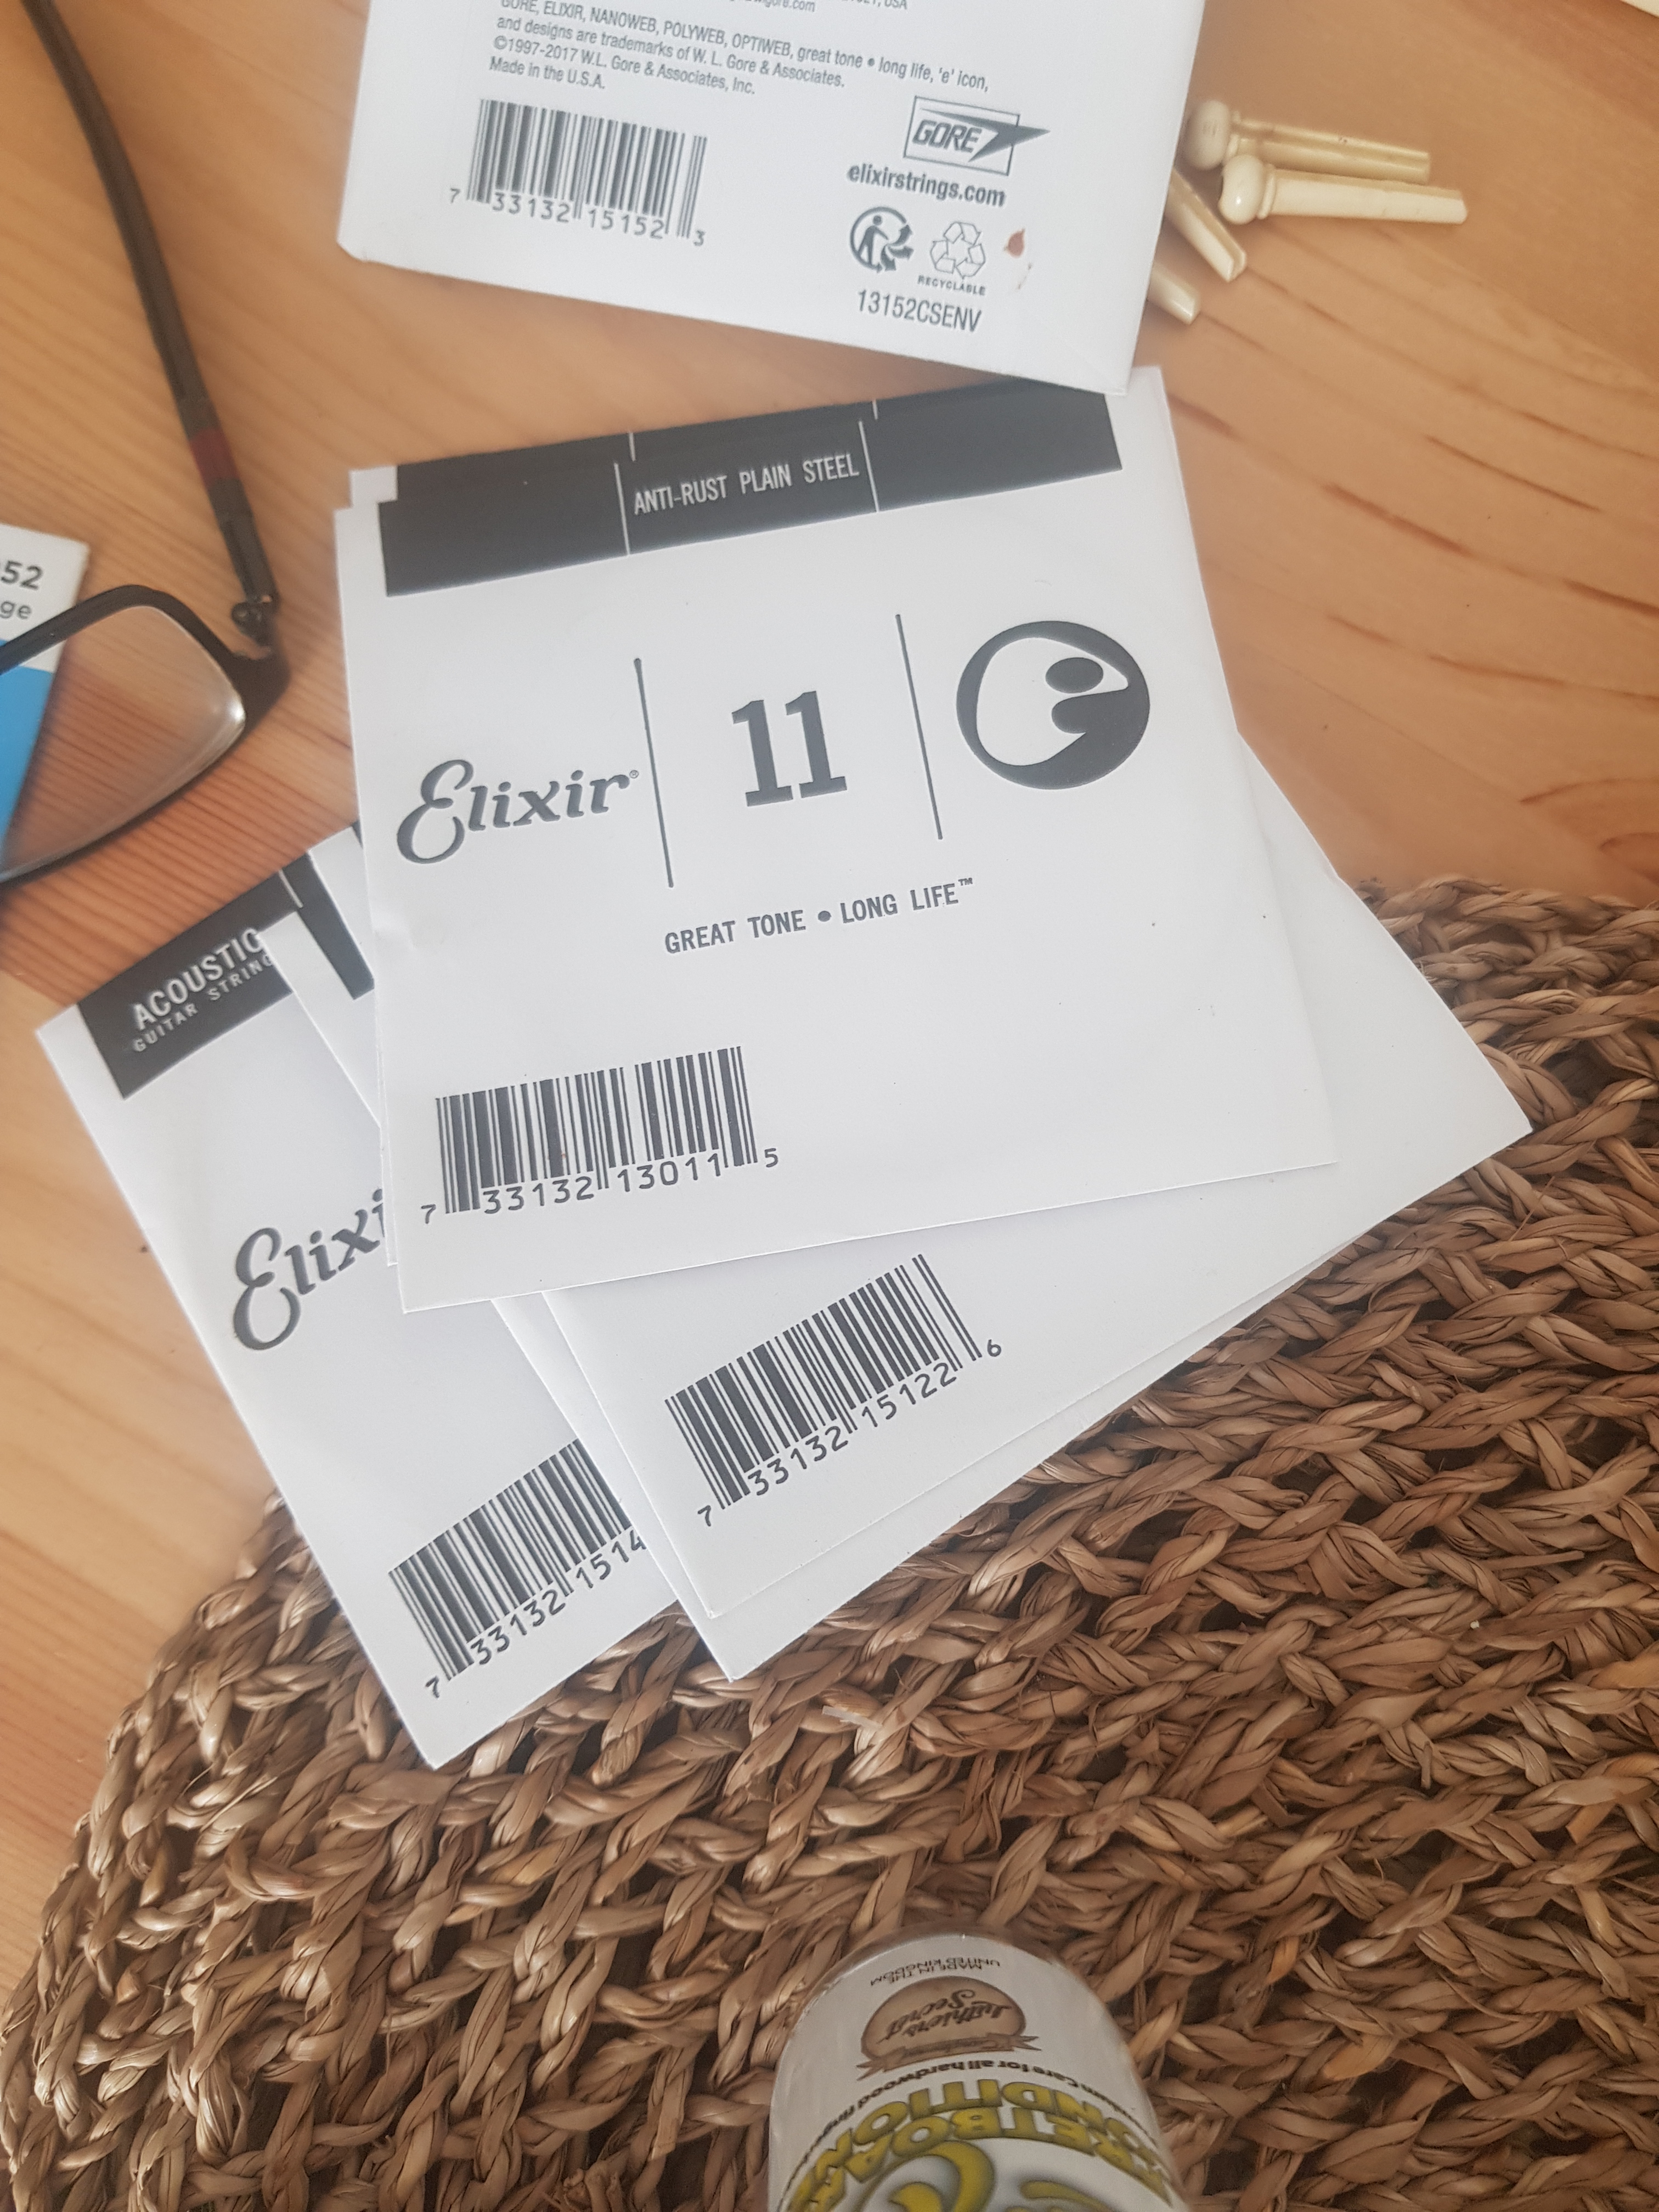
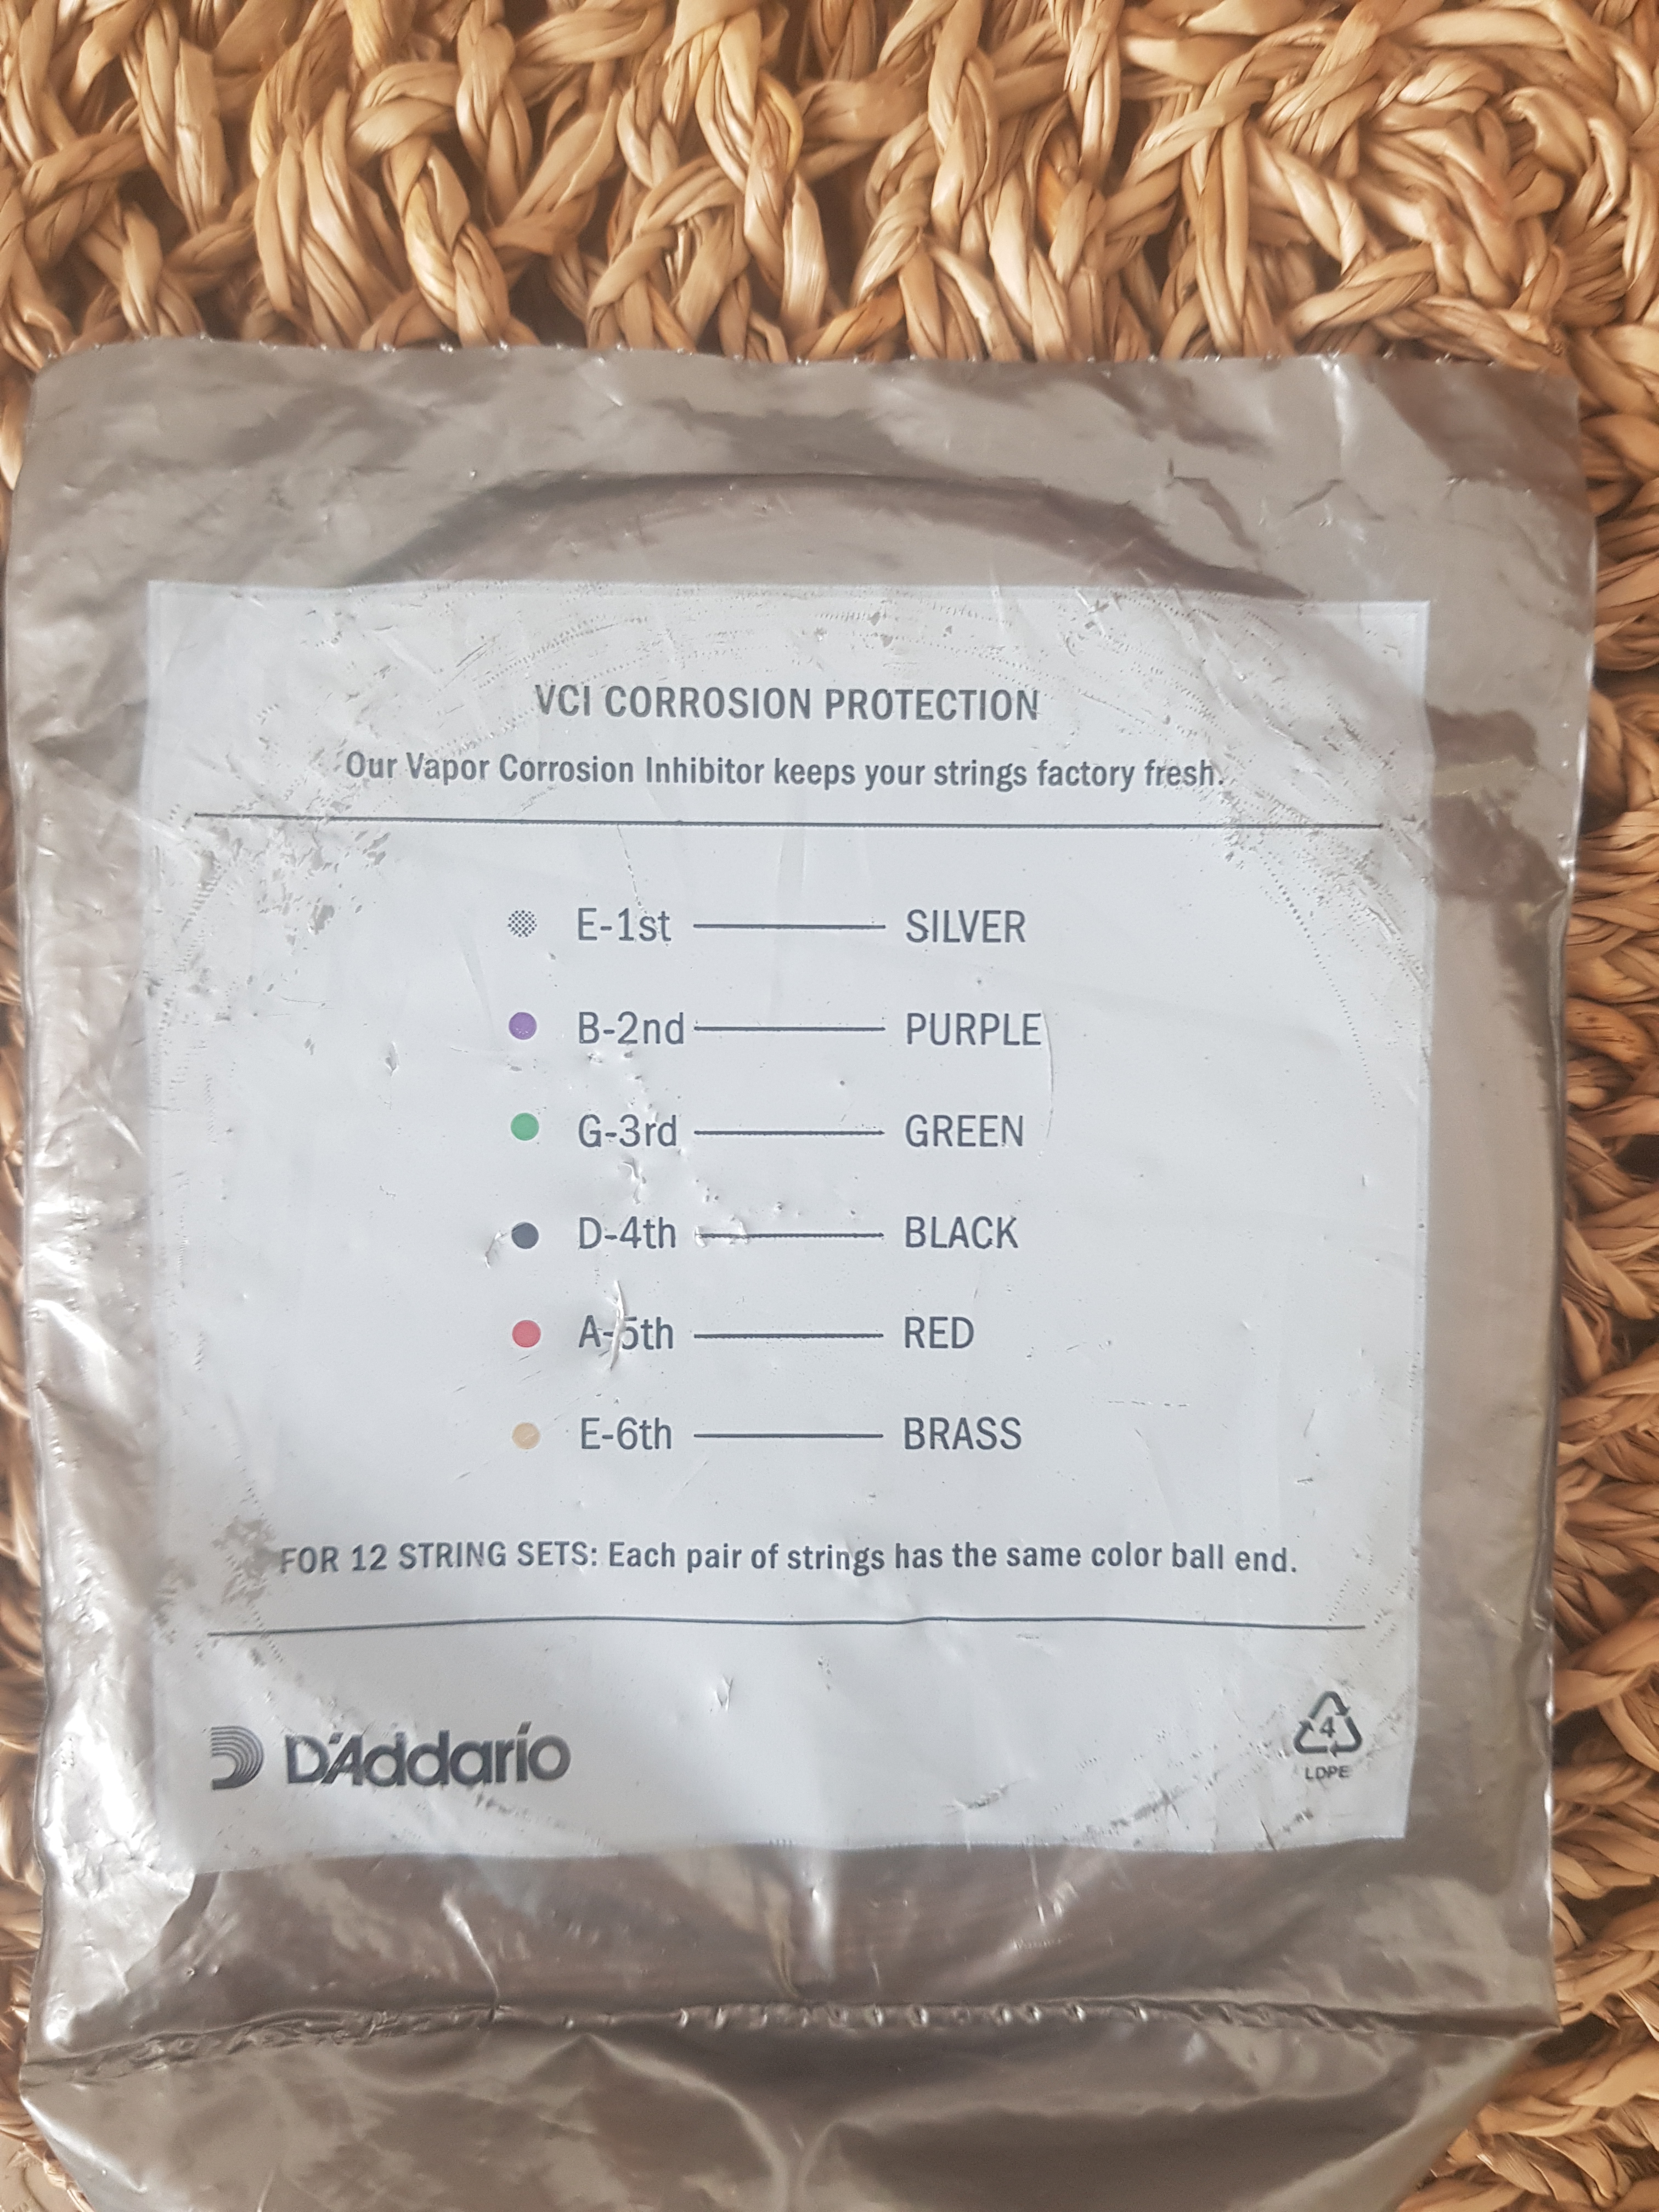
- Don’t just change one string. What a nightmare! Cheese wire cuttting your fingers, covered in skin-dirt and one odd shiny string. It does effect the sound. It looks lazy and cheap too. Buy a whole set from Amazon or wherever. I use D’Addario medium lights. Medium lights is honestly a good start of you don’t know what you’re doing. Thick and heavy is harder to play and too light break more easily. It’s for people who like that particular sound.
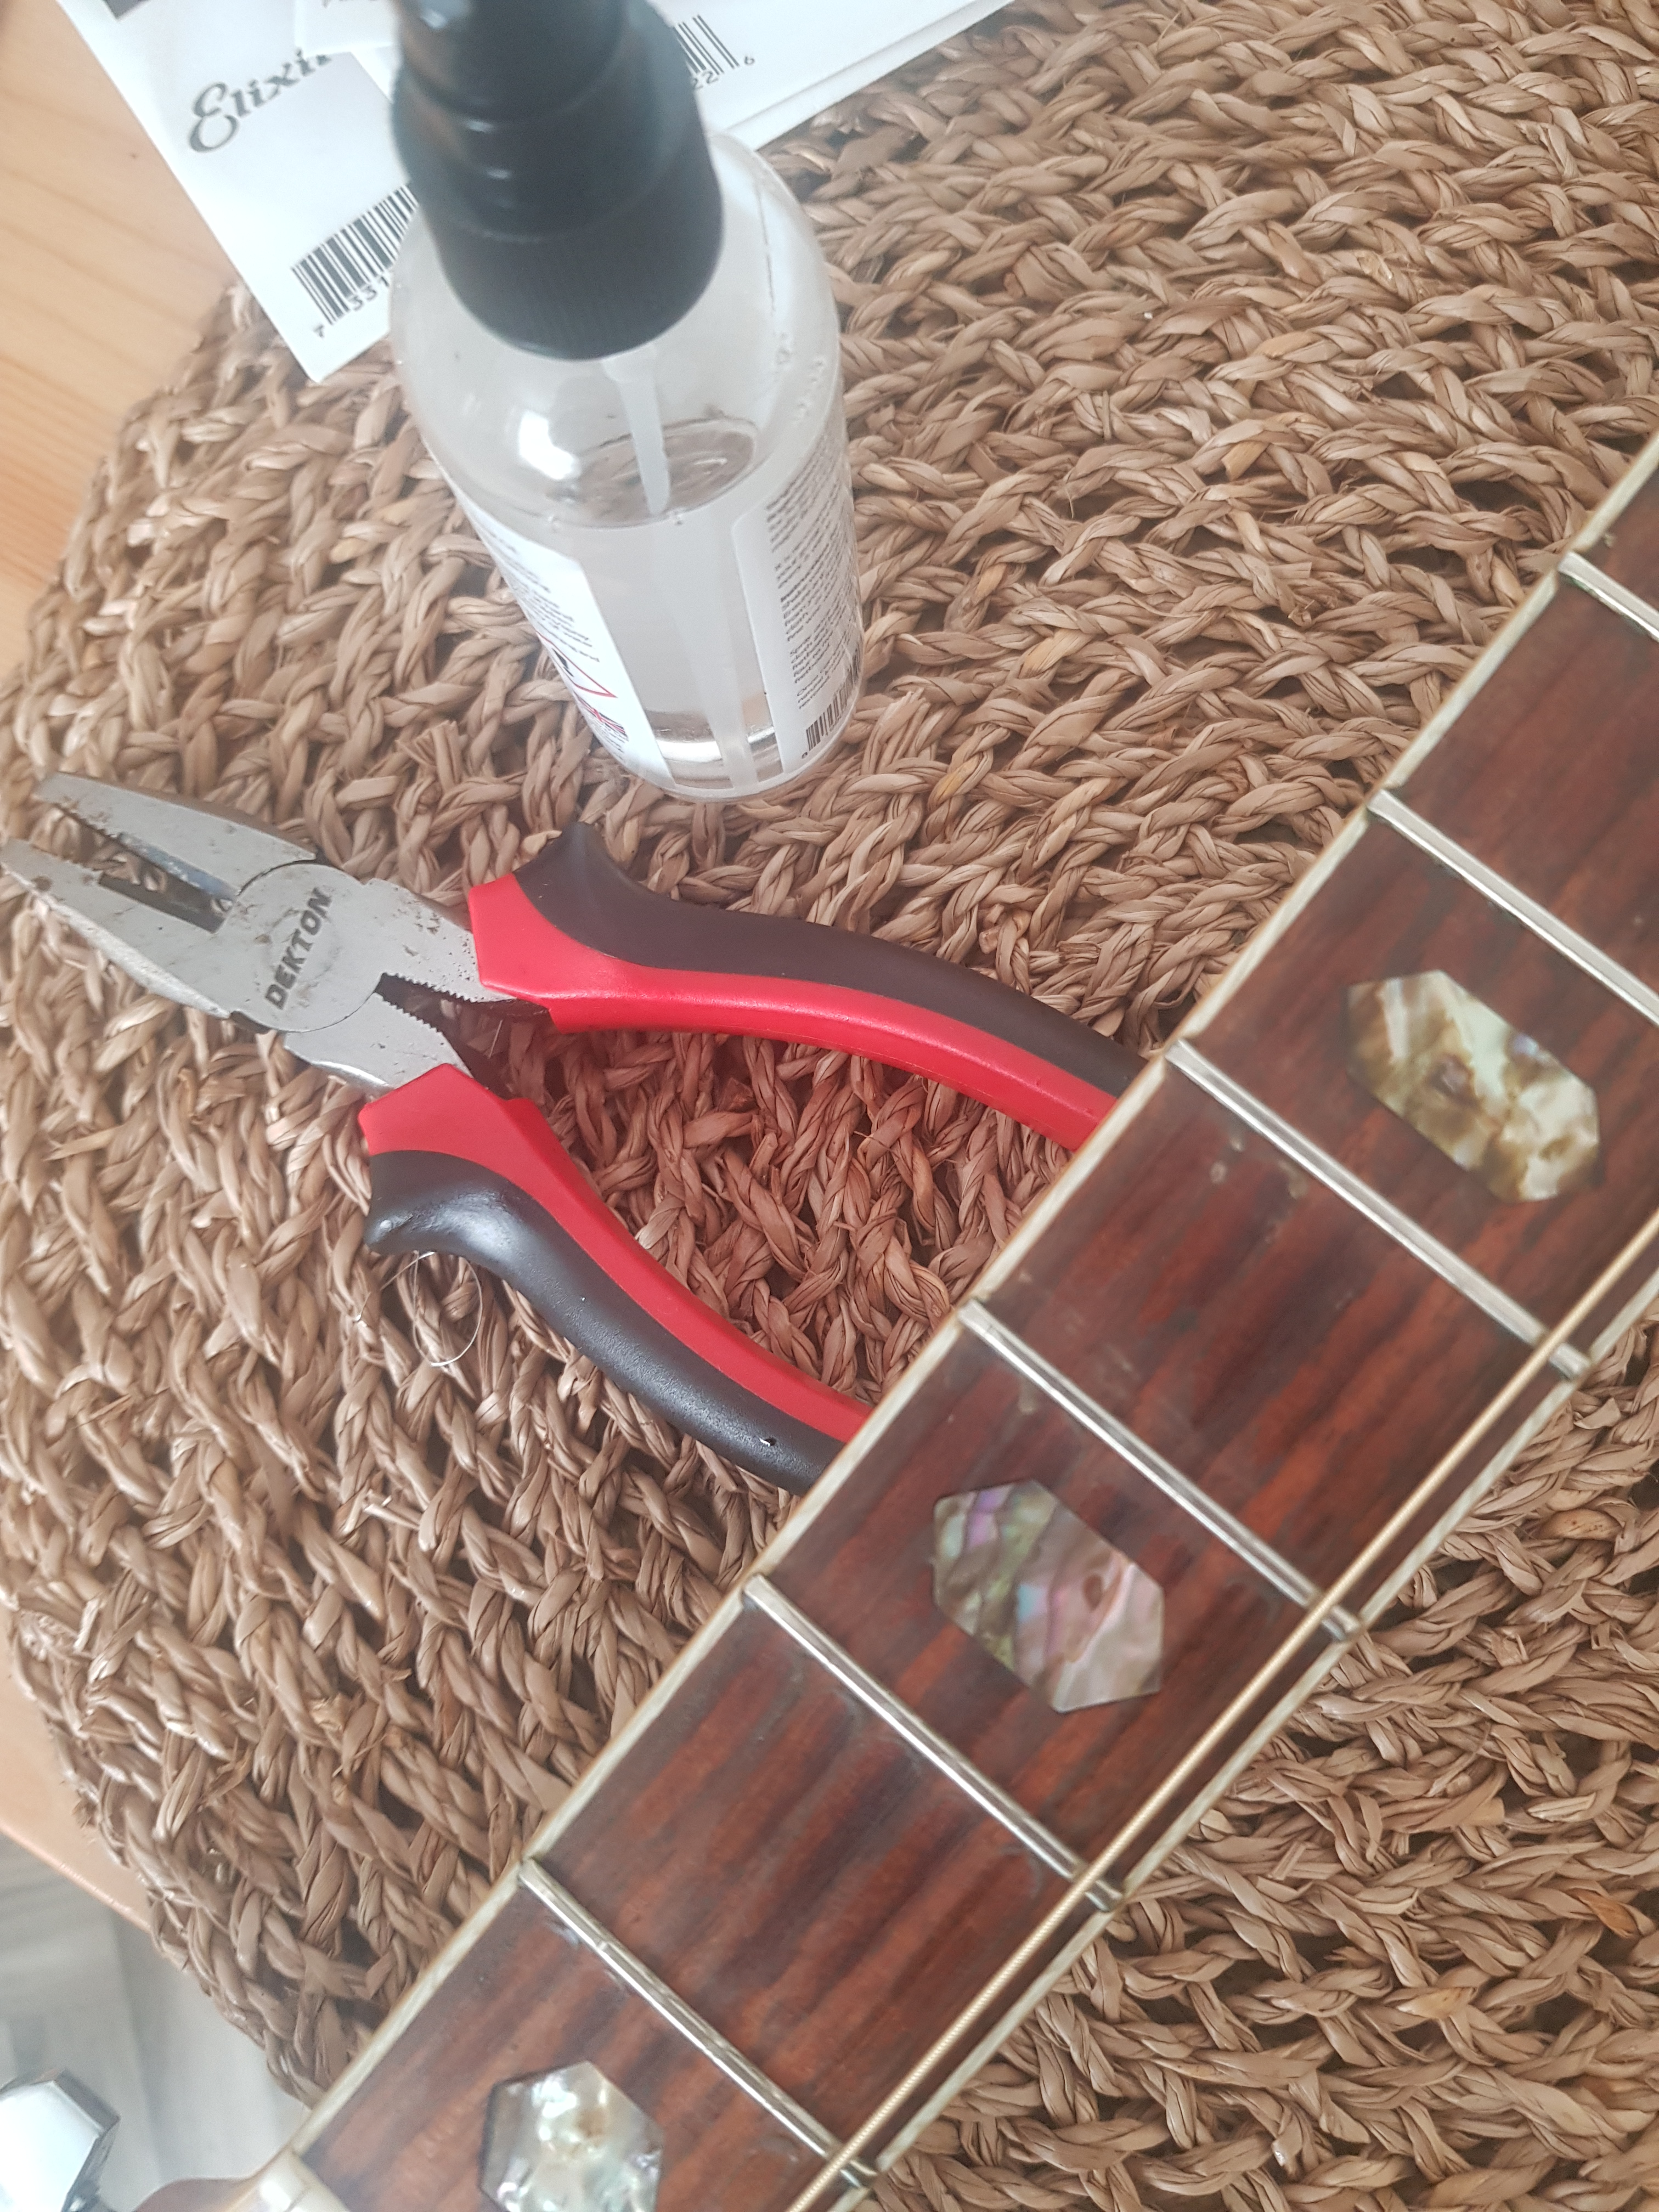
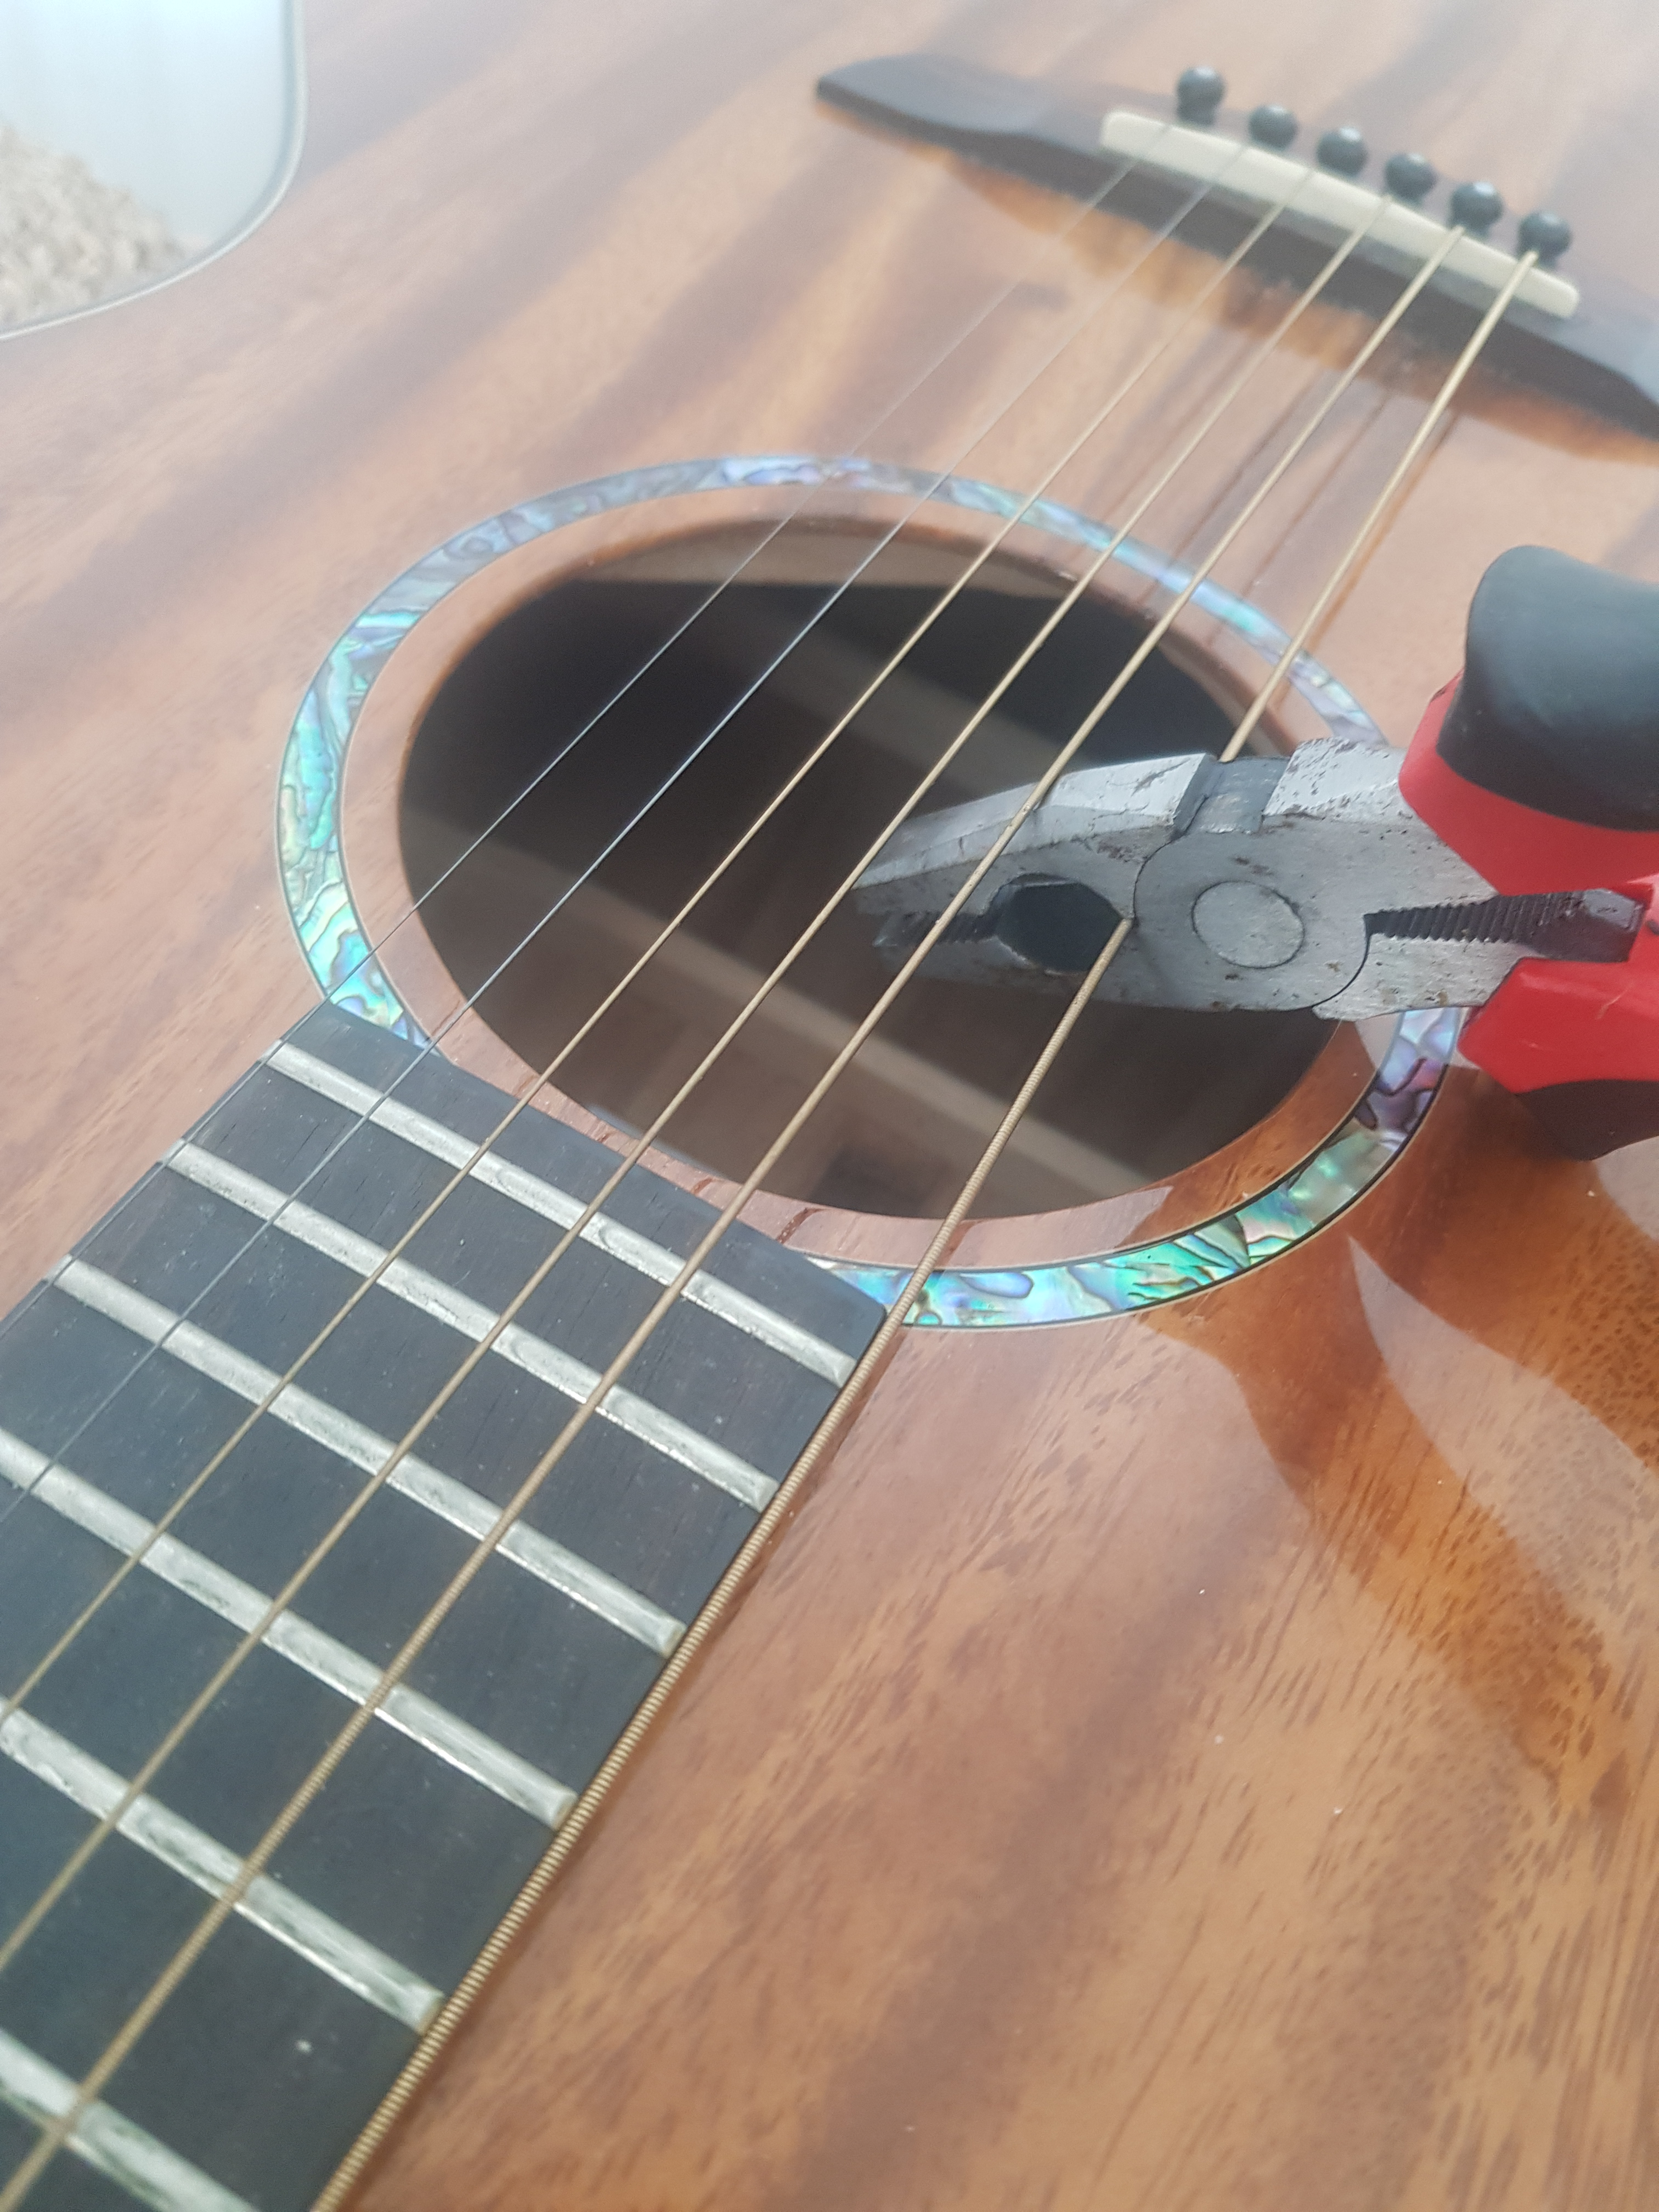
- Find some pliers. You’ll need these to cut off the old strings. Do this over the sound hole but only after unwinding them to give yourself some slack. It’s very important. You don’t want them ping in your face through the release of tension. (NB: You don’t have to take off all the old strings at once. if you don’t want to. Start with a couple so you can compare your new strings to the way the old ones have been put on, provided this was done correctly of course). You’ll also need these pliers to cut off the long dangly bits at the top of the guitar when you finish.
- Remove the pegs. These hold your strings in place in their holes next to the bridge. But remember to keep them in the same order that you pulled them out. The pegs wear and shape their way into the holes over time and it can make the hole and peg unique. Although it’s not the end of the world if you get it wrong either, in my experience
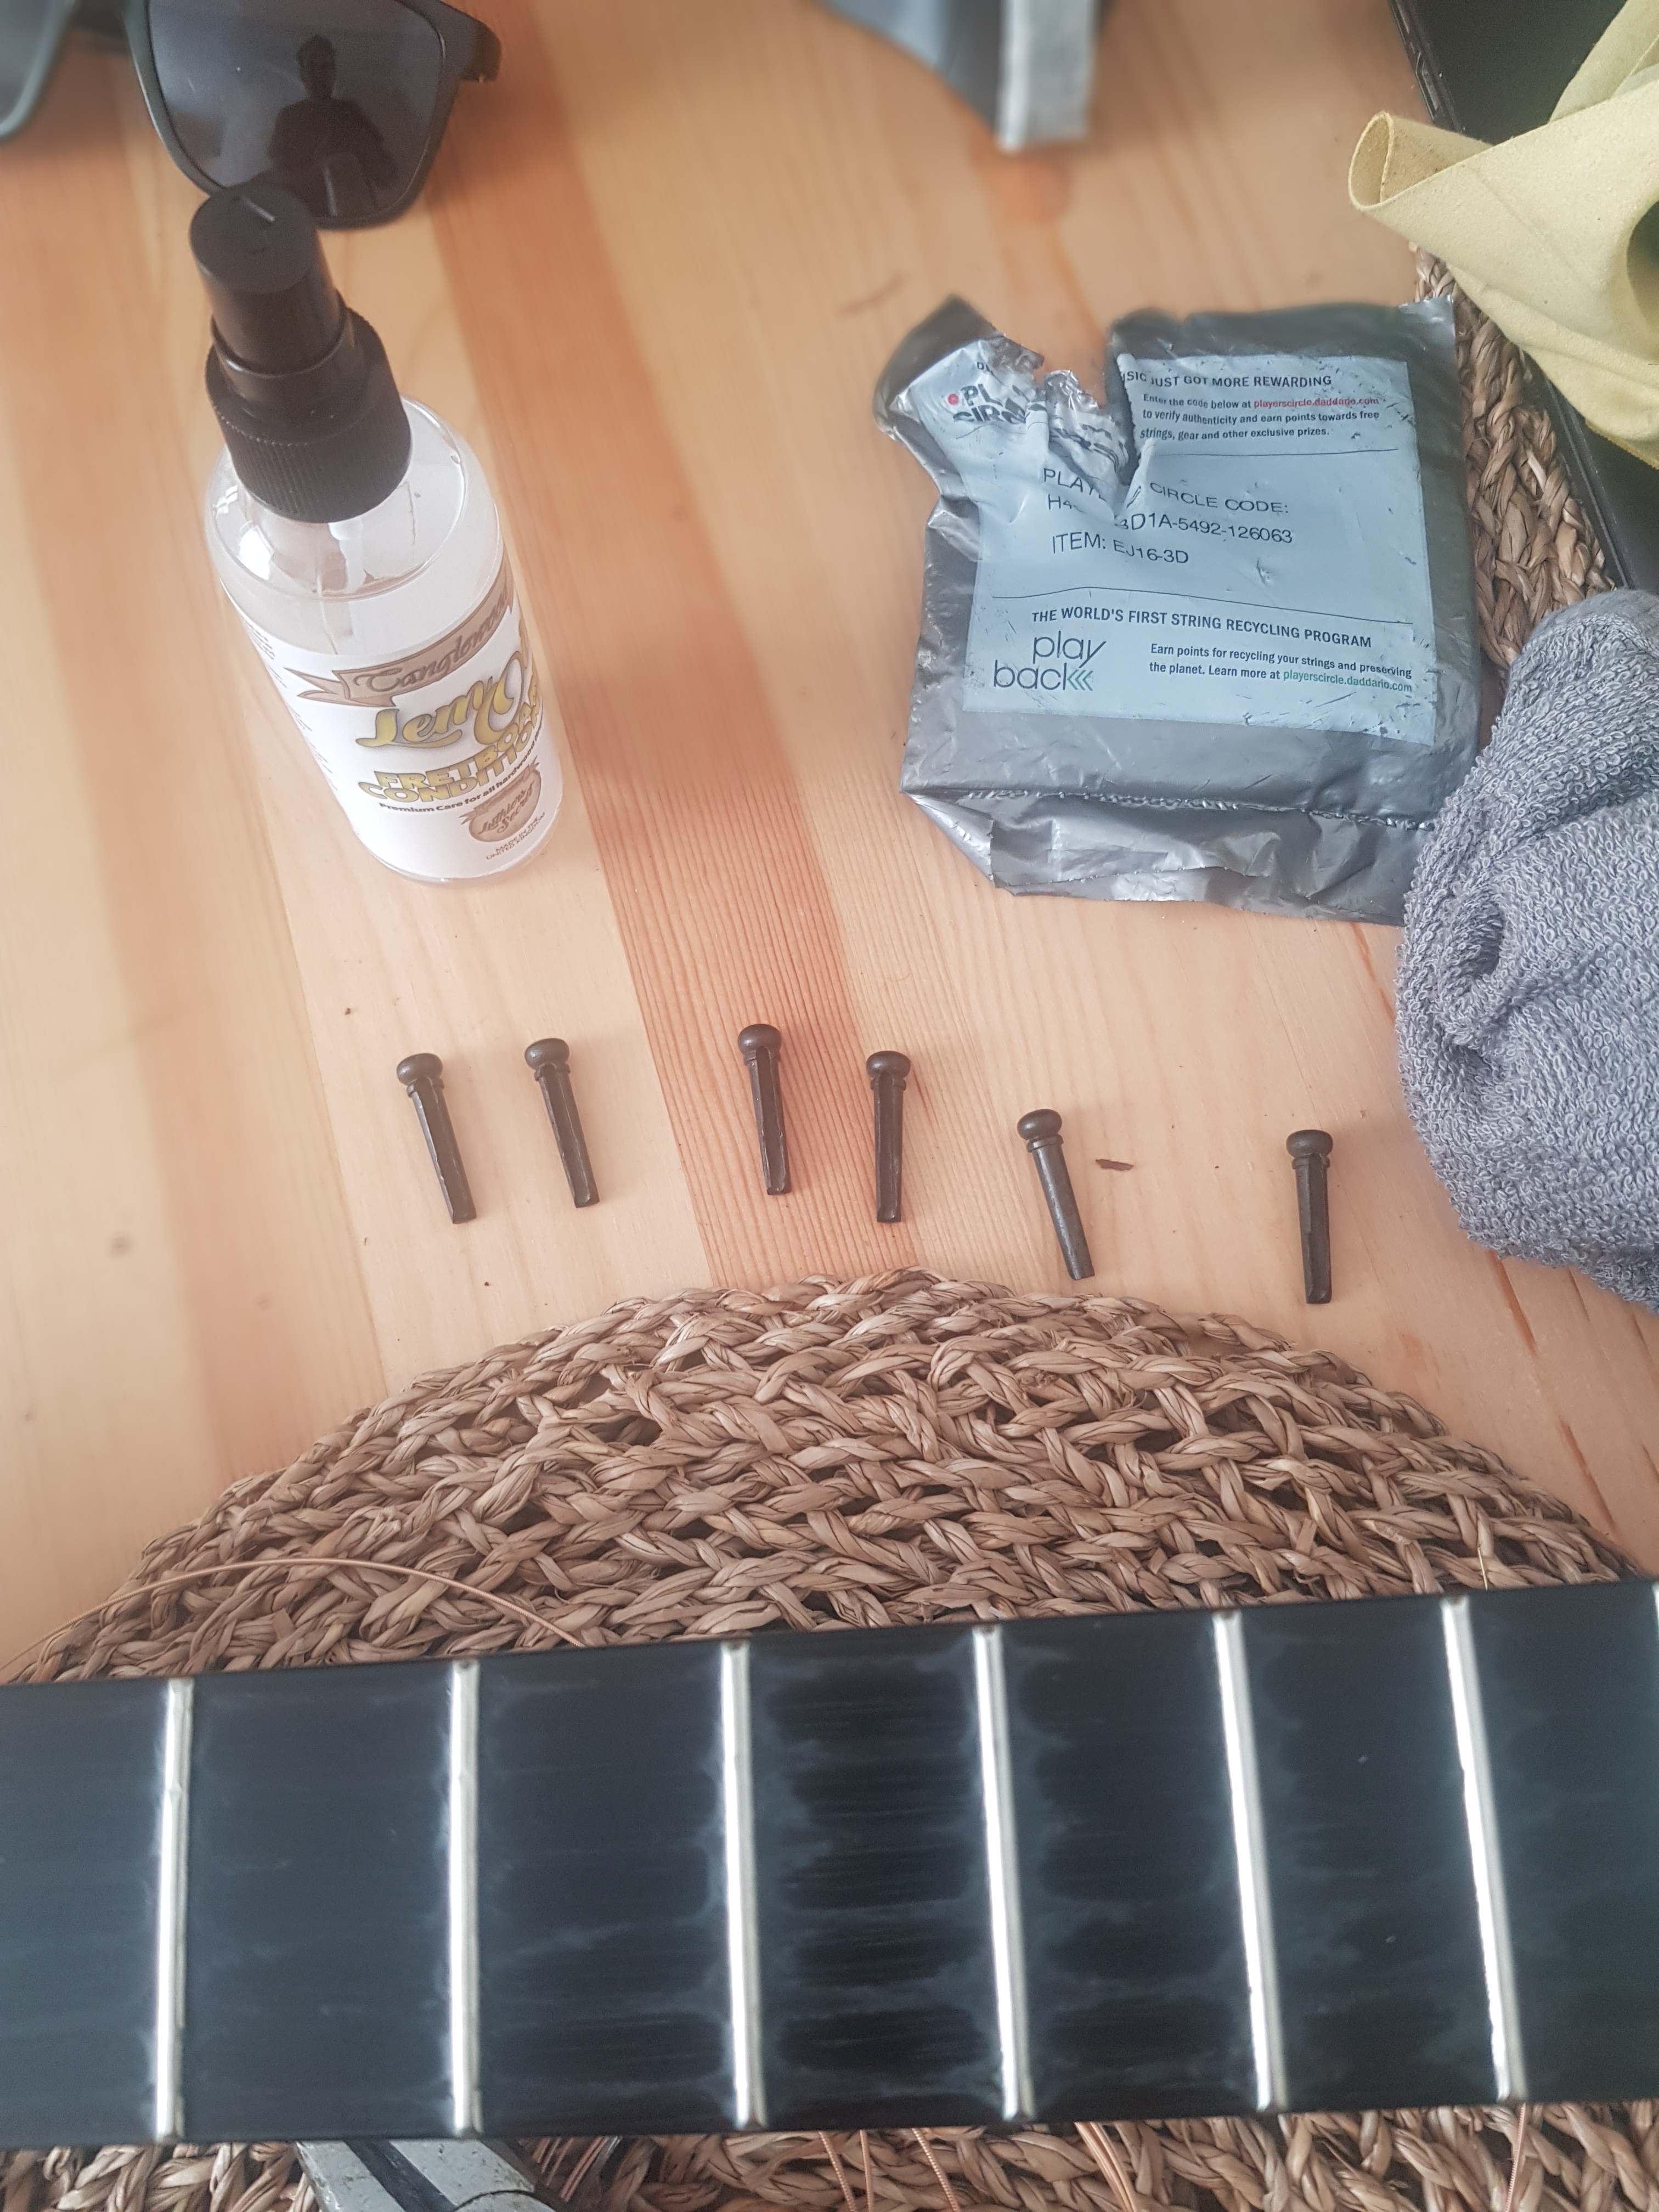
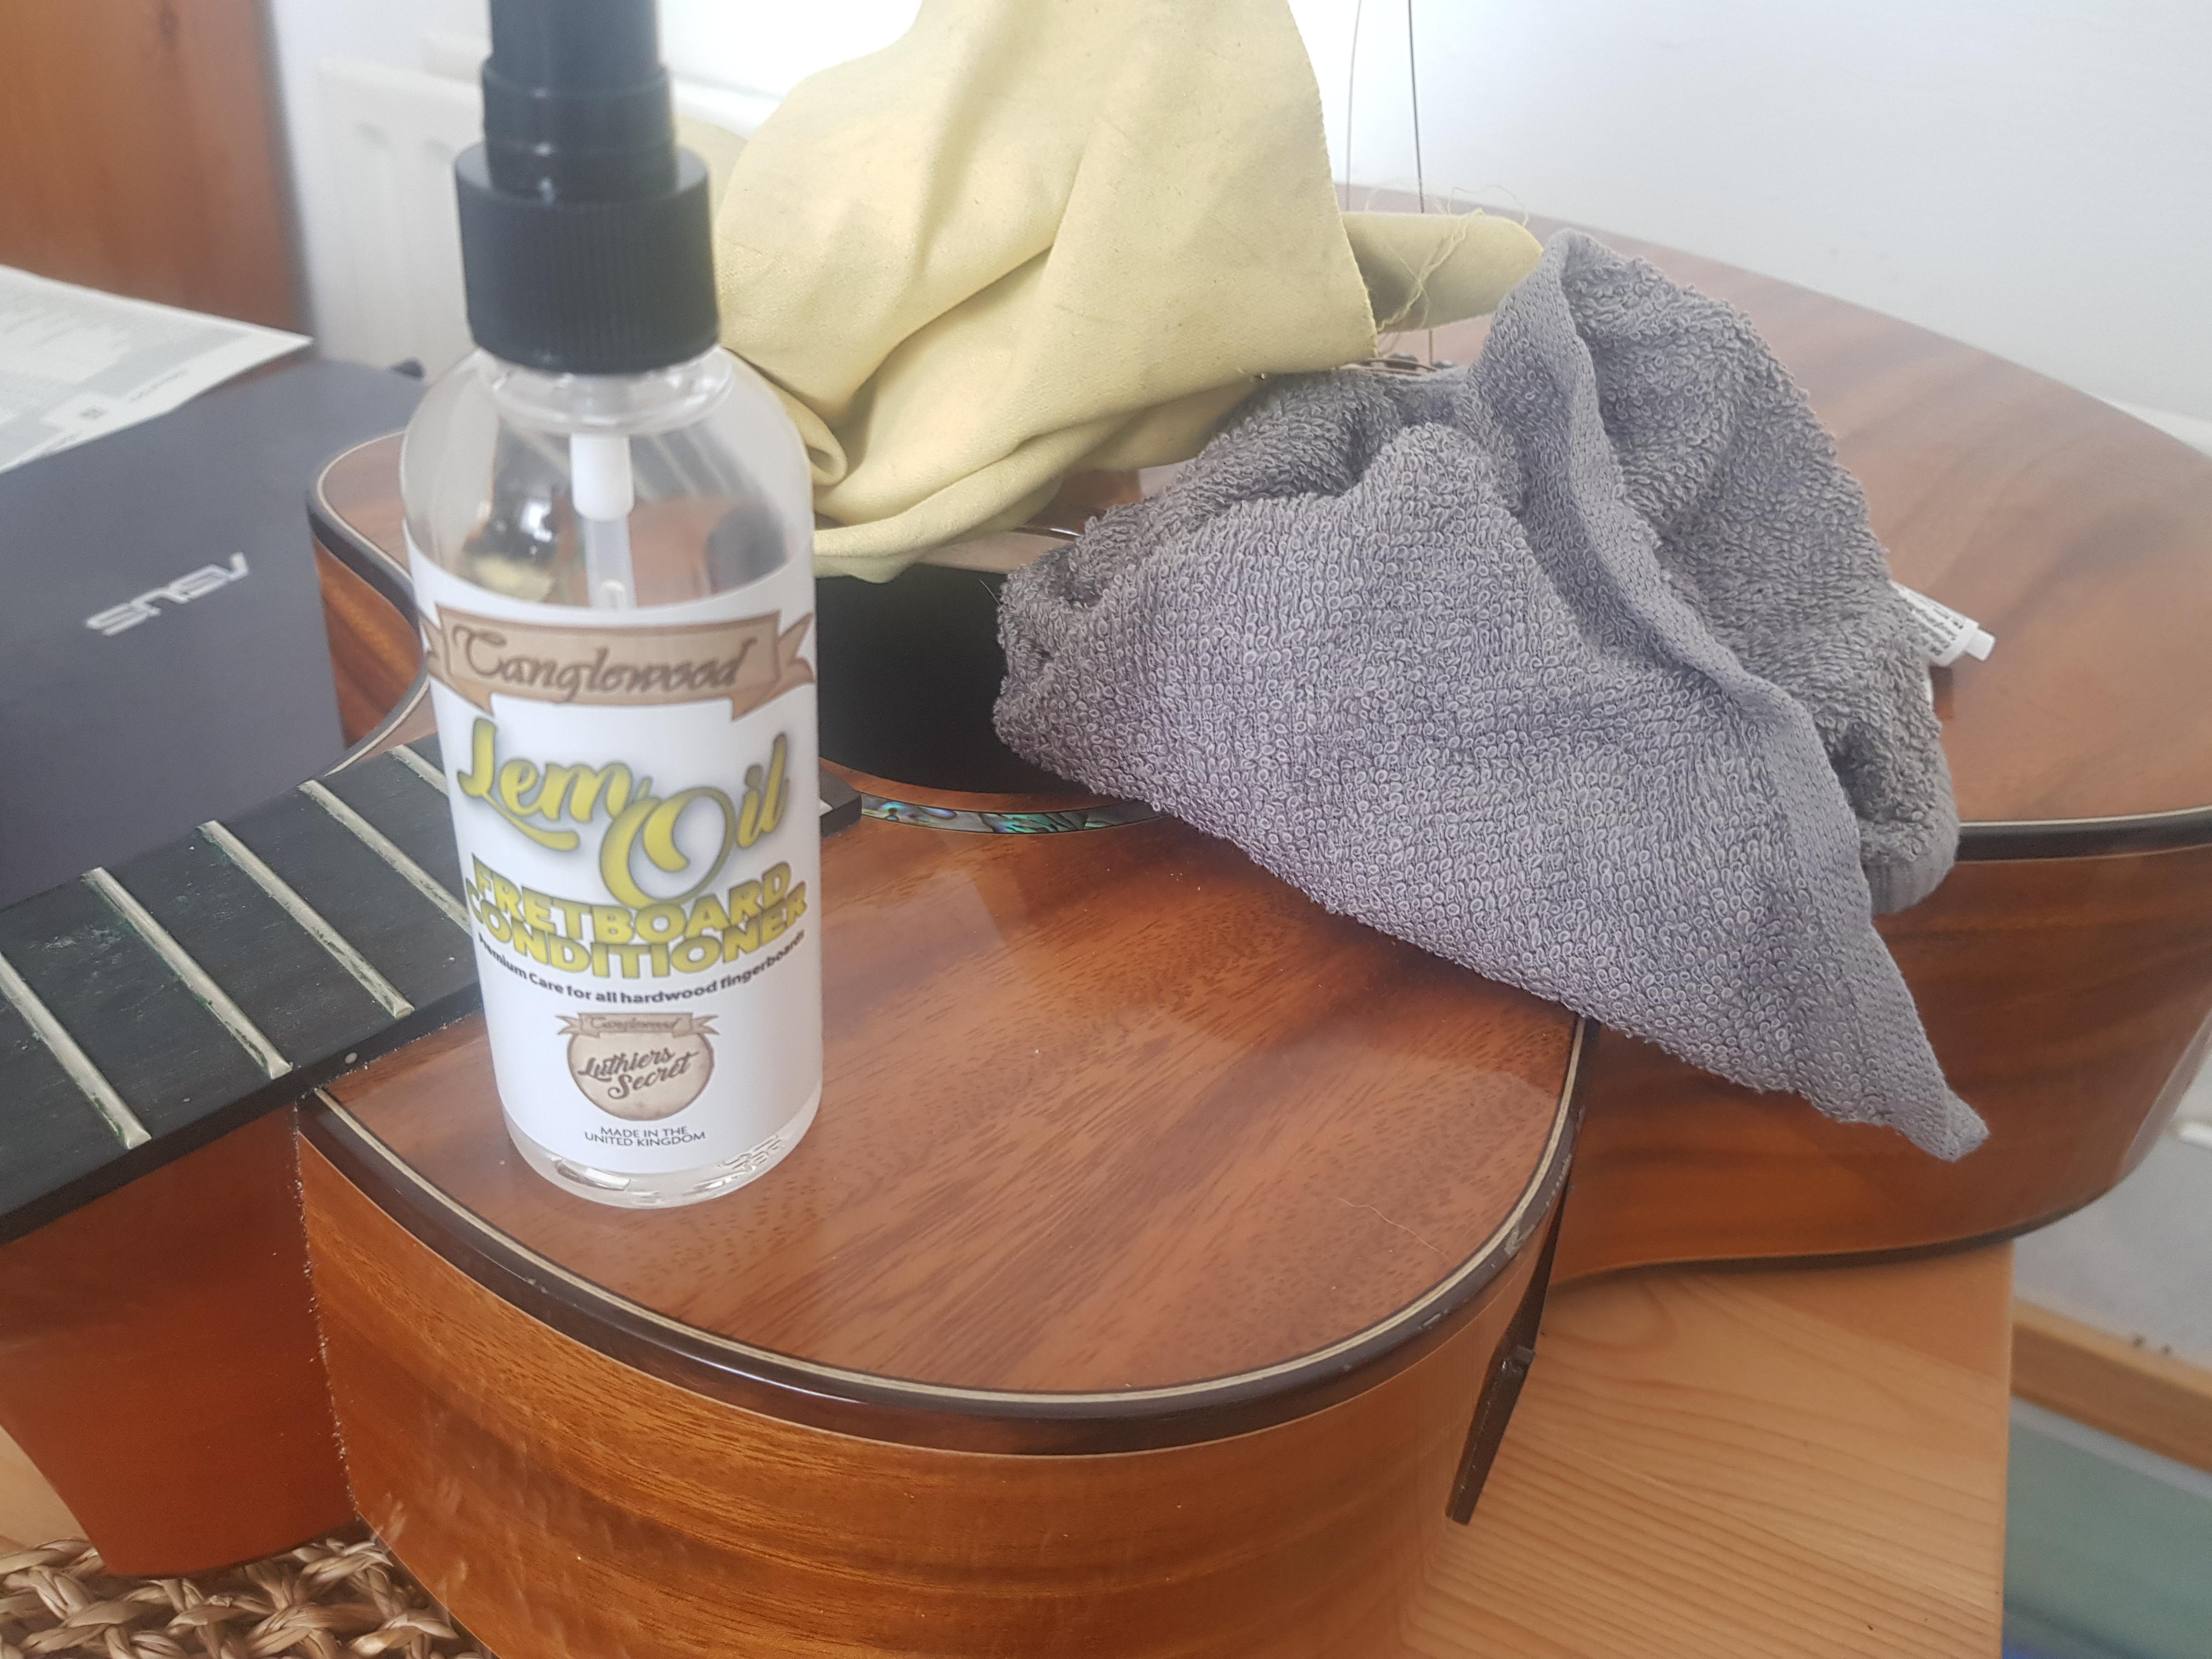
4. Clean the guitar. I feel there are musicians out there who don’t like doing their dishes or giving their bed sheets a 60 degree wash to rid them of dust mites. But do. Get in the habit. You’ll like it. Use a guitar oil and some cloths. Work on all the disgusting finger-paste which clings to the fretboard. Do your best.
5. Make sure you put the new strings on in the right order. It’s written on the packet. I have taught somebody for over a decade who thinks that the bottom string is the top string. He knows best. The thickest string is the bottom string in pitch, the sixth string in music and physically at the top of the guitar. Sorry but that’s how people who play the guitar communicate with each other. By using the same numbers and names for strings.
6. Put the strings on one at a time. Thread each one through the hole. Put the peg in. Give yourself some slack (about the width of your fingers). Loop it around and through the hole in the top of the guitar. Bend it over sharply having left enough of the string to cut off at the end. You don’t need to tie any knots. It’s not a precise art. Widening each string tightly around the top peg is about keeping it taut and the tension will hold it in place with a bout three times around.
7. Leave the old strings on as you go along. Do the strings one at a time. If your guitar has previously been strung properly you can look at old strings while putting new ones on. You can check if you’re doing it righ to make you feel more confident. So leave three old strings on ,for example, and change 3 new strings at first.
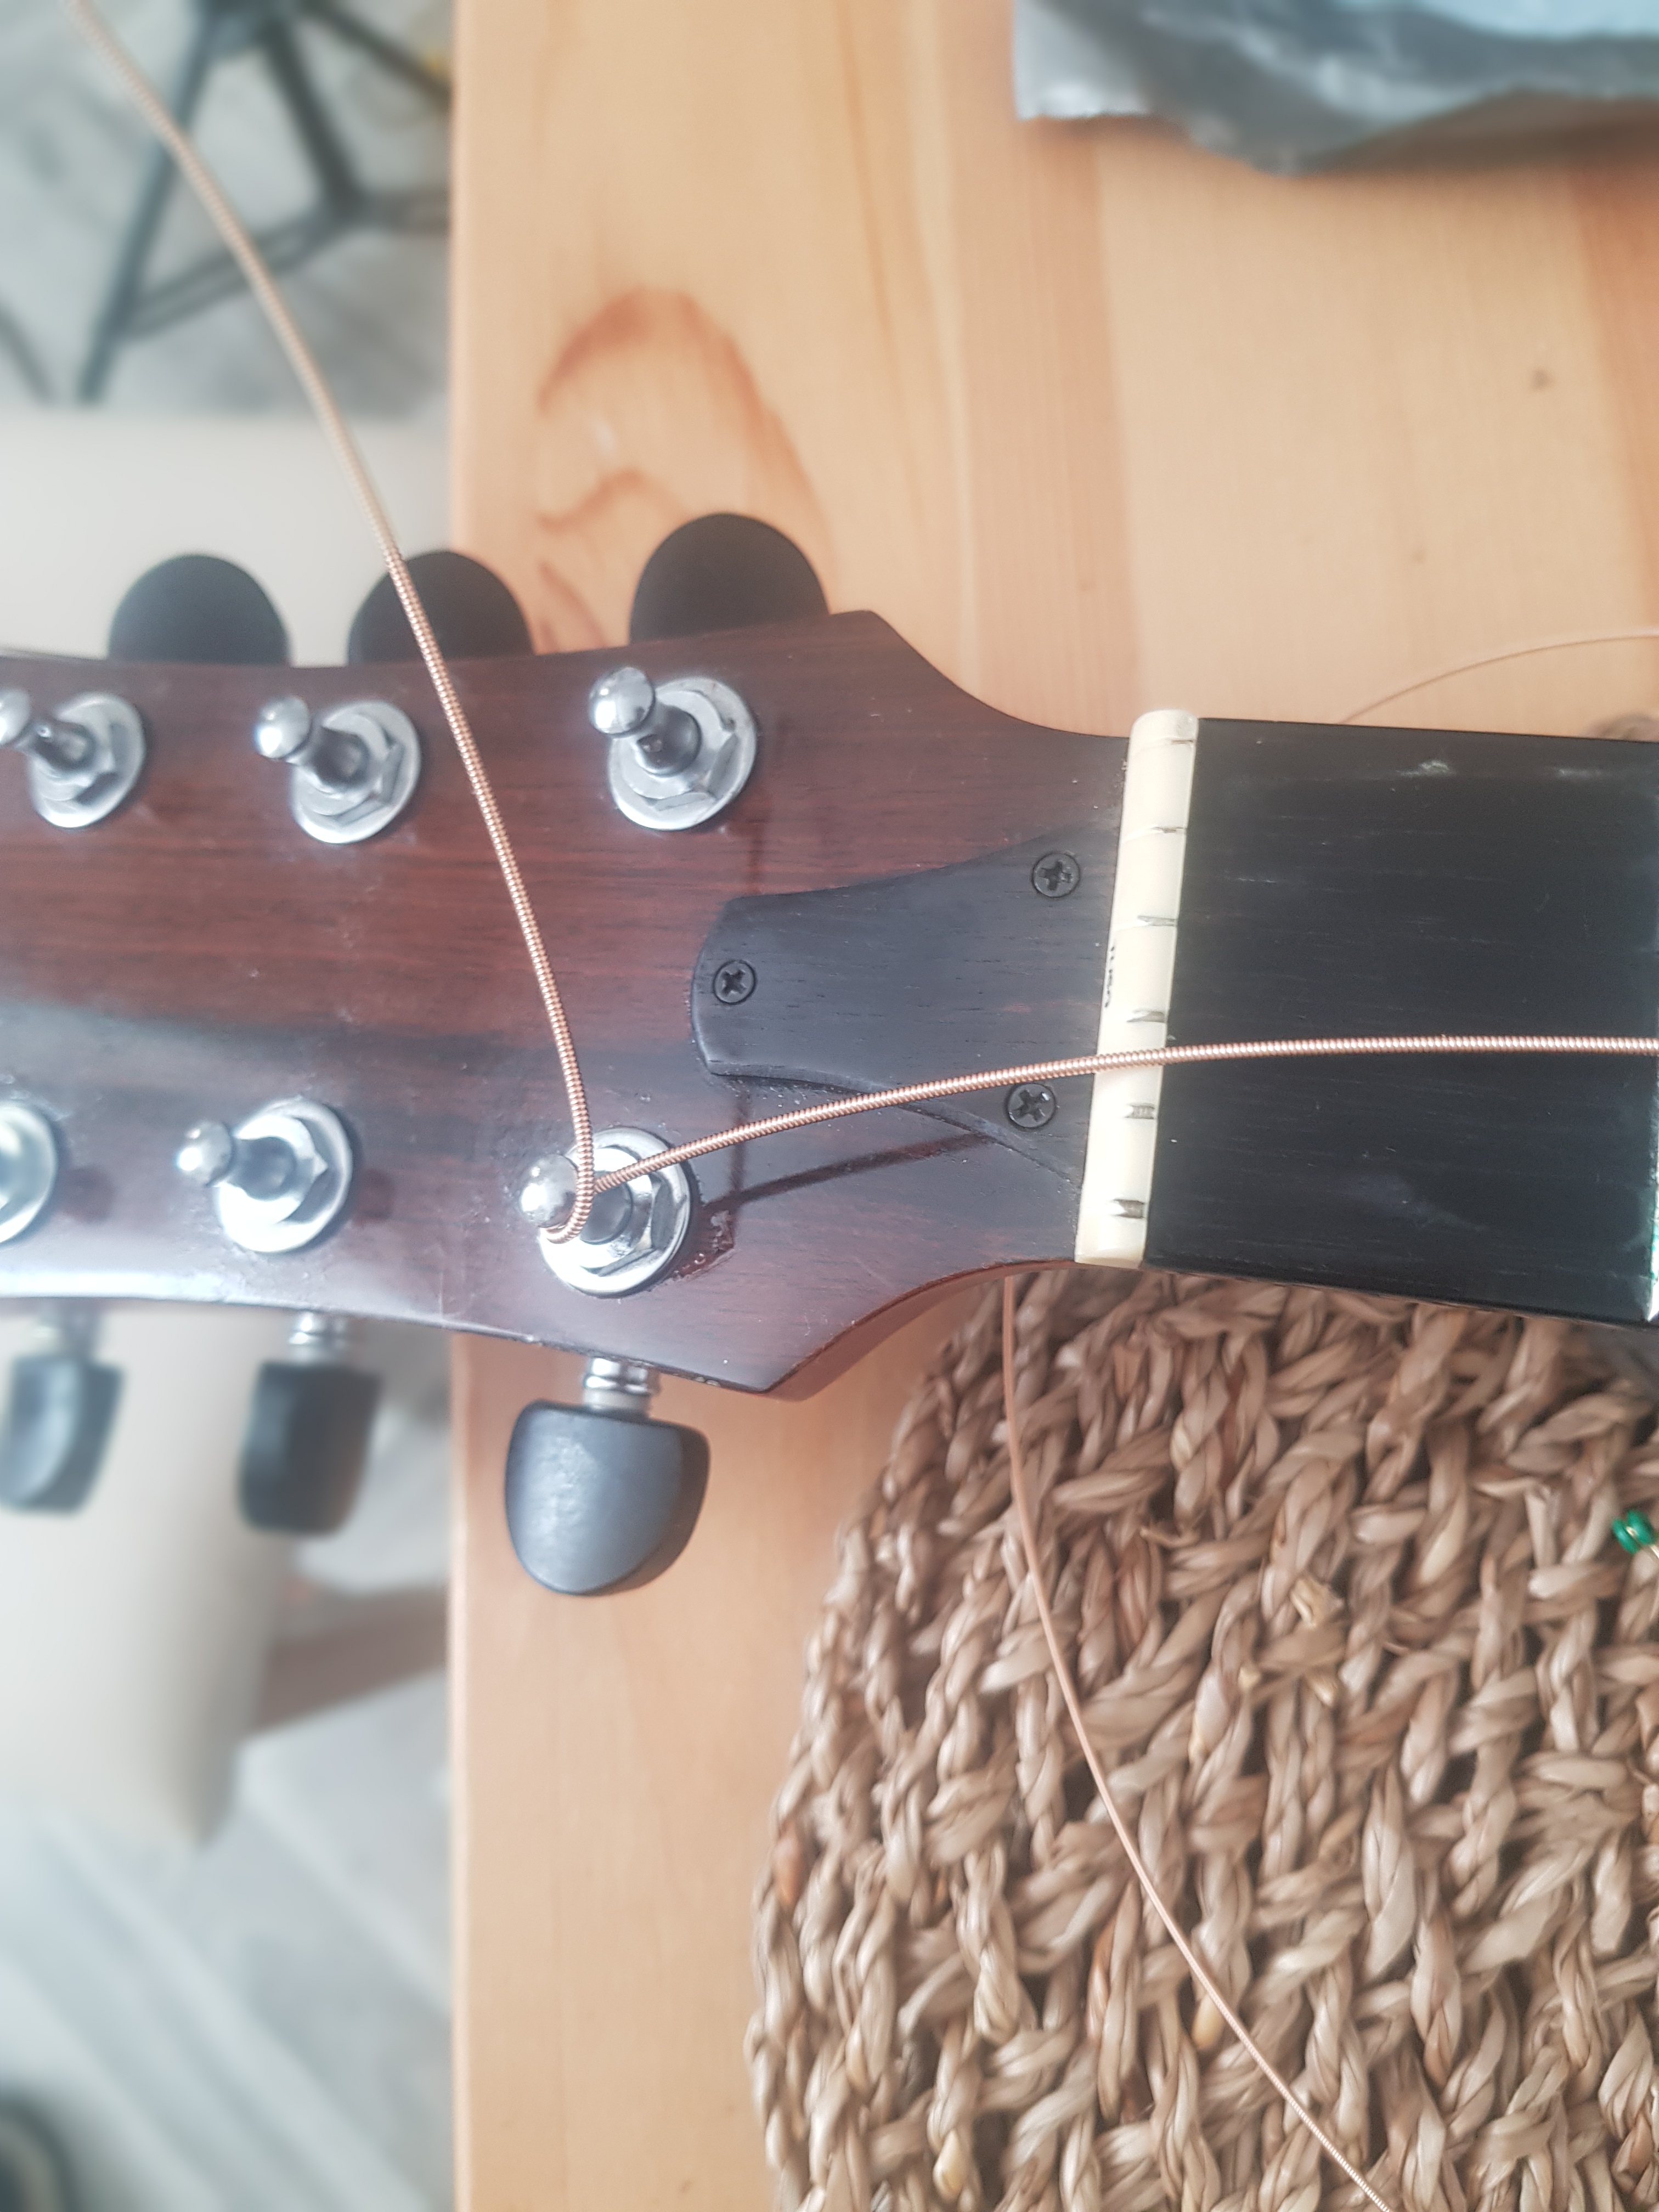
7. It’s important to wind the strings on the correct way. Through the middle of the headstock so that they twist outwards from the middle. Check the picture above in this blog.
8. Chop off the excess string at the top of your guitar. Leave a few mm and if you can, be careful, bend over the stub. It is possible to spike your finger with the end of this chopped off string. It hurts a little so don’t do it. It’s annoying.
9. Use a tuner with the new strings. Tune it up, play it, tune it up again. Do it again. It takes a while for new strings to bed in depending on how good the guitar is. Be patient. The you’ll can play your new song on a lovely zingy guitar. It may inspire you.
Now you’ve read this (presuming you have read this). Check out this guy representing a company on YouTube. This channel has hundreds and thousands of subscribers, a fancy workshop and lovely cameras. The more you do a practical task, the more you listen and watch other people doing it, the better you get at it. Until it becomes easy and in the end, satsifying. Plus, it’s only 5 minutes and it says what I’ve just said with some extra tips. Like using a dust peg for pushing the stiff pegs out from inside the guitar. Great tip. Go for it! Don’t slack off and get it over with.
I hope that was useful. Feel free to comment below. Don’t forget to subscribe and maybe one day I’ll finish the book The Music Workers Diary and you might want to read it as an E book or get a physical copy. Wish me luck.

The Music Workers Diary – stories and reflections of a struggling musician on a journey from the rainy north of England to working on a cruise in the Pacific Ocean. Based on real events, the writer, a former local news reporter, ended up on a ship which was at the heart of world media and the start of an international pandemic.
“A humorous, philosophical and insightful social commentary on being a musician and the music industry in the 21st century. Also, a first-hand account of being on the frontline facing a new killer virus in a global emergency.”
“A unique, streetwise perspective on the coronavirus outbreak and the grassroots end of music.”
